You can add a DNS Record easily by logging in to your Iowa-Host's web hosting control panel and following these simple steps:
Sign in to the user control panel.
Scroll down, on the left side, to 'DNS Functions'
Drop down the arrow and select 'DNS Zone Editor'

To manage your DNS Zones, you will need to 'Select a Domain' that you want to manage.
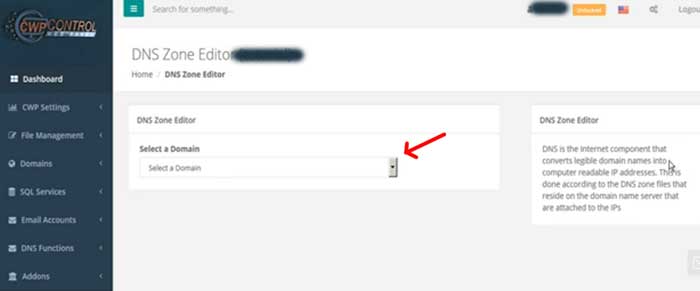
After selecting a domain to manage, it will open up a table with your domain's user-defined records.

Look each of the existing records available. If you'll notice, on the right side of the page, you have options to 'edit' a record or 'delete' a record.
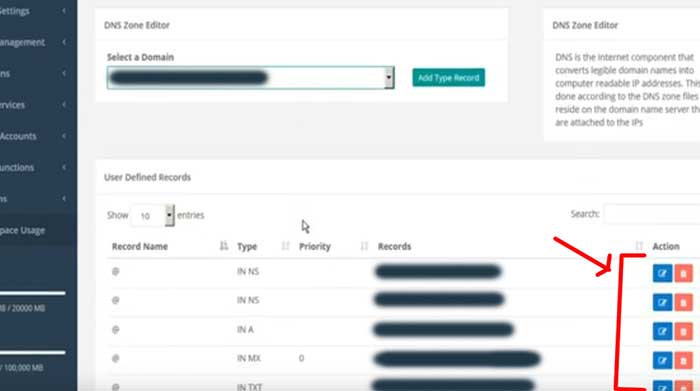
If you need to edit a record, you can edit it to update any of the following: a new 'Host', 'Target', or 'TTL' and then save your record by clicking 'Save record'.

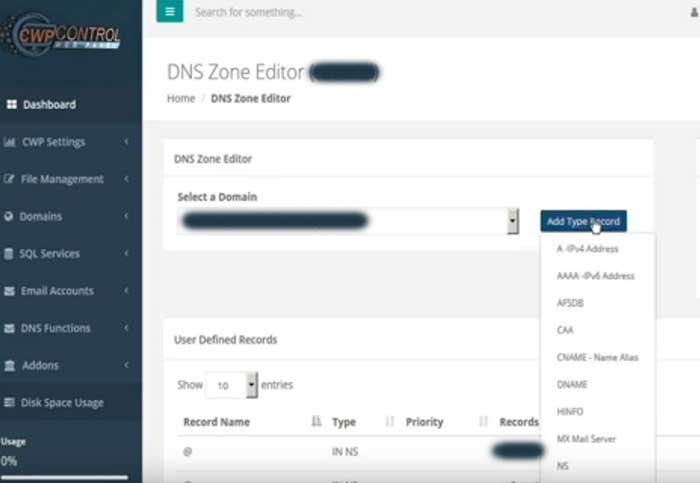
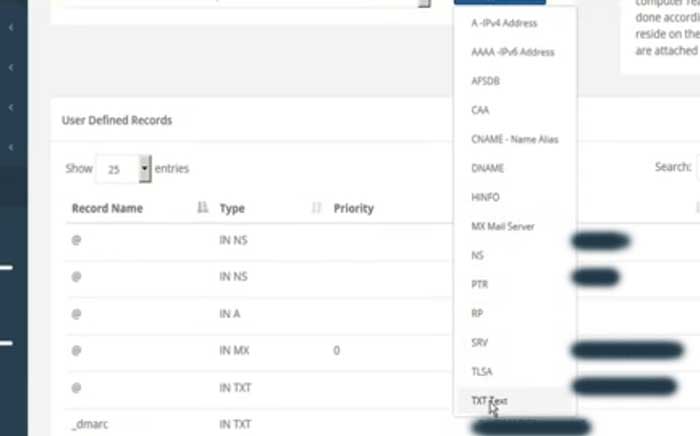
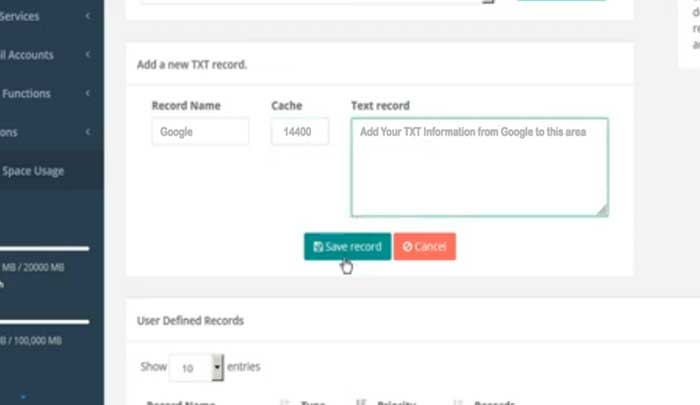
You can, also, add different types of records by going up towards the top of the page and clicking 'Add Type Record'. This will drop down the menu and you will select the TXT Text option. It is always best to copy and paste any data so there are no typos that would interfere with the new records. Any new records, that you want to add, must be added one at a time.
CWP will do a verification before saving to ensure that the file is not corrupted. Once it's saved, you will get a 'Successful' message.

Then, the DNS record that you created, will be added to the records listing table. You can see it by scrolling down in the list.
To add another DNS record, scroll back up to the top of the page, and follow the same steps.

